How To Put On Disposable Gloves
Disposable gloves are required in a number of industries, to reduce cross contamination, minimise the risk of infection and maintain a high level of hygiene and protection in the workplace.
However, it’s important that disposable gloves are properly donned and worn to reduce the risk of tearing and undoing the protection that they offer.
Here, Brosch Direct breaks down how to put on disposable gloves to ensure you can go about tasks safely and with minimal risk. This step-by-step breakdown should reduce the likelihood of workplace incidents occurring and ensure your business is covered.
How To Put On Disposable Gloves
Step 1 - Check The Glove Size
It’s so important that the gloves you are about to put on are the right size. The correct size means they won’t be too tight that they rip or too loose that they fall off or reduce dexterity. Glove sizes vary per manufacturer but we have a great guide to determine which one you will likely require.
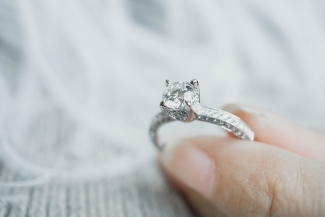
Step 2 - Remove All Jewellery
Rings with large stones and bracelets with catches can snag disposable gloves, causing them to tear and break. Remove these before pulling the gloves on.
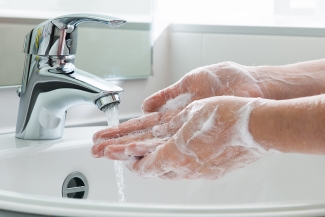
Step 3 - Ensure Hands Are Clean
You may think the gloves serve as the main protection but it’s important your hands are also clean to ensure that should a tear or rip occur, the skin underneath is still clean to minimise spreading infections.
We have an in-depth guide on how to wash hands correctly here on the site. If you don’t have access to soap and water an antibacterial hand gel will do.
Ensure hands are thoroughly dry before putting on disposable gloves.
Step 4 - Remove Gloves From Their Packaging
Check them carefully for signs of tears or rips to ensure they are in good order before putting them on.
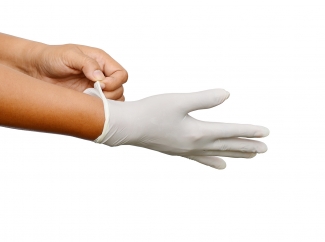
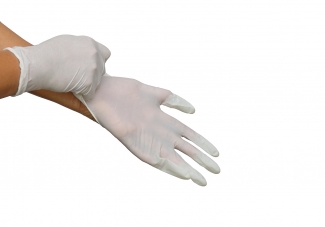
Step 5 - Start With Your Dominant Hand
It’s a good idea to cover your dominant hand first and you do this by using your non-dominant hand to pick up the glove by the inside of the cuff. Then simply slide your dominant hand into this.
Remember, it’s important you only touch the inside of the glove to reduce the chances of contamination and only adjust this glove once the other one is on.
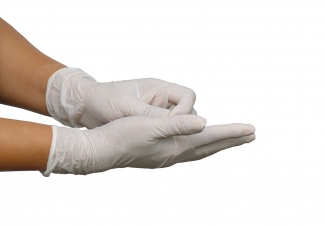
Step 6 - Put On The Other Glove
Again, holding the glove by the cuff, push your non-dominant hand into the opening and gently move it inside. Ensure you do not flex your fingers too much until they are in their designated holes.
Step 7 - Adjust The Gloves If Necessary
Carefully adjust the gloves to better fit around fingers and cover the whole hand. Ensure you don’t pull too much to prevent rips and tears and avoid touching the skin on your wrist when adjusting the cuff of the glove.
Tips For Putting On Disposable Gloves
Some quick tips and tricks when it comes to wearing and putting on disposable gloves.
- Check that the gloves are not too tight - pinching the skin, excessive sweating of the hands, overstretching the material and limited dexterity all suggest that the gloves are too small and more prone to breaking.
- If you have a latex allergy opt for a nitrile or vinyl variety - this ensures you don’t suffer a reaction, which can make hands sore and dry.
- Ensure the packaging for your gloves is not tampered with or damaged.
- If the gloves do rip or tear, wash your hands and put on a fresh pair.
- Do not wash disposable gloves and re use them again later.
- Ensure you opt for the right thickness level for the task at hand. Some disposable gloves are resistant to puncturing while others are created to offer ease of movement and so are thinner.
- Use a new set of gloves for each different task you carry out to minimise the risk of cross contamination.
It’s a good idea to carry out training for staff who must regularly wear disposable gloves. Check that they are aware of and understand the consequences of incorrect usage of this form of protection and ensure that you are supplying only the highest quality for them to use.
Read our guide on how to correctly remove gloves here